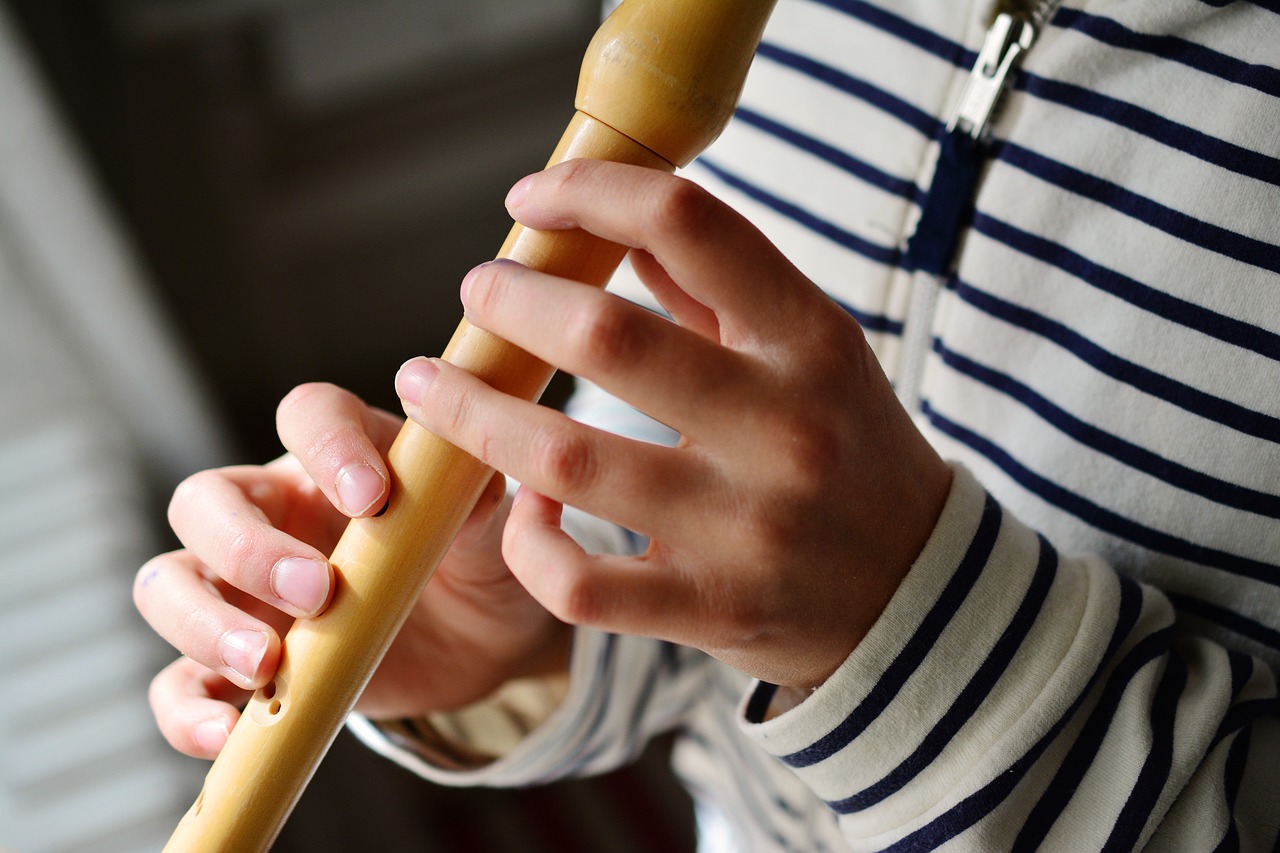
This is an excellent instrument for beginners in terms of air and coordination. This isn’t to say it’s always simple; the finger combination may be complex at first, but anyone can play it with practice. This table will show you how to finger important recorder notes (not including alternate fingerings).
Note that fingers 1, 2, and 3 are from the left hand, whereas fingers 4, 5, 6, and 7 are from the right. The left hand is on top!
I’ll start at the bottom and move up.
| Note | Fingering |
| Low C | Thumb, 1, 2, 3, 4, 5, 6, 7, |
| C#/Db | Thumb, 1, 2, 3, 4, 5, 6, half 7, |
| D on recorder | Thumb, 1, 2, 3, 4, 5, 6, |
| D#/Eb | Thumb, 1, 2, 3, 4, 5, half 6, |
| E | Thumb, 1, 2, 3, 4, 5, |
| F on recorder | Thumb, 1, 2, 3, 4, 6, 7, |
| F#/Gb | Thumb, 1, 2, 3, 5, 6, |
| G | Thumb, 1, 2, 3, |
| G#/Ab | Thumb, 1, 2, 4, 5, |
| A | Thumb, 1, 2, |
| A#/Bb | Thumb, 1, 3, 4, |
| B note on recorder | Thumb, 1, |
| High C | Thumb, 2, |
| C#/Db | 1, 2, |
| D | 2, |
| D#/Eb | 2, 3, 4, 5, 6, |
| High E | Half thumb, 1, 2, 3, 4, 5, |
| F | Half thumb, 1, 2, 3, 4, 6, |
| F#/Gb | Half thumb, 1, 2, 3, 5, |
| G | Half thumb, 1, 2, 3, |
| G#/Ab | Half thumb, 1, 2, 4, |
| High A | Half thumb, 1, 2, |
Further higher notes are available; however, they are rarely used in recorder music.
Why is it always left-hand on top?
It’s a part of the tradition. The recorder is always held with the left hand on top. The left hand is also on top of the clarinet, saxophone, and flute.
Learning the recorder with the left hand makes transferring that coordination to these instruments is easier. It’s also intended to help right-handed persons.
The right-hand work (the one at the bottom) will be considerably more dynamic and complicated in the long term.
A large portion of the notes is played with the left-hand fingers down the entire time.
It’s also how the recorder is built. If you look at the holes, you’ll notice that they’re not all even.
They move in and out of their line based on the primary curvature of the fingers. The second hole, for example, is farther over than the first and third because the middle finger usually is longer than the others.
If you play with your right hand on top, your fingers will not naturally line up with these holes.
The Half-Hole Technique
Starting with high E, you’ll need to apply the half-hole technique. This enables the vibration to push the sounds up an octave.
Here’s a simple exercise to get you started with this method.
On the recorder, press the E key (Thumb, 1, 2, 3, 4, 5). Play this note.
Now, move your thumb down a little and focus your air more. It will play high E by jumping up an octave.
Shift your thumb back and forth until you can effortlessly jump from low to high. Watch this video to learn more about the recorder notes Finger Chart.


